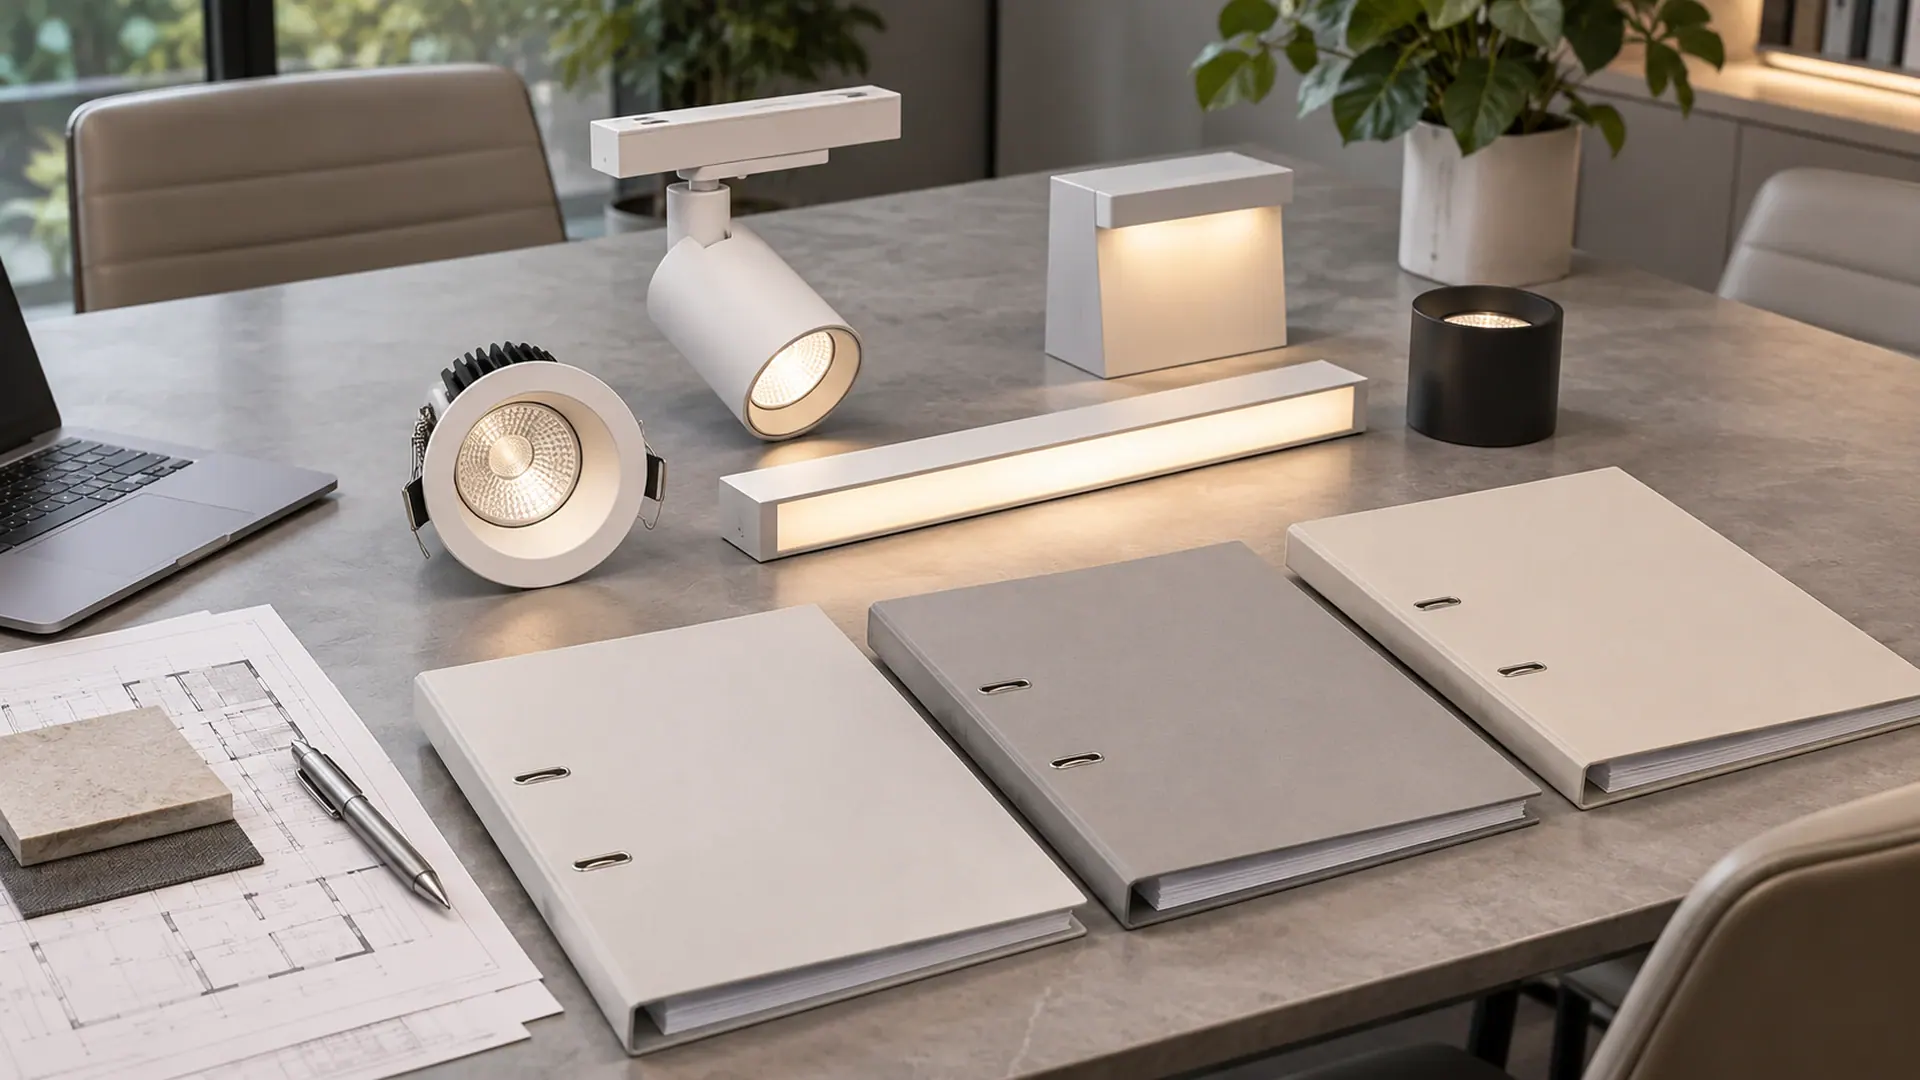
لماذا تومض مصابيح LED؟ في موقع حقيقي، توجد سبعة أسباب، ستة منها تتعلق بالتركيب لا بالمصباح. وغالبًا ما تكشف الأعراض السبب خلال دقيقة: فالوميض الذي لا يظهر إلا عند مستوى إضاءة أقل من 20% يدل على عدم توافق بين المخفّت ومشغّل LED، والوميض الذي يبدأ عند تشغيل الغلاية يشير إلى مشكلة في التغذية الكهربائية أو السلك المحايد، أما الوميض الذي يظهر في الفيديو فقط فيدل على مشكلة في تردد تعديل عرض النبضة (PWM). تسرد هذه الصفحة كل سبب، وتوضح القيمة التي تحسم التشخيص، وتختتم بخطوات مرتبة من خمس مراحل لتحديد موضع الخلل من دون استبدال كل وحدة إضاءة في الغرفة.
1. الوميض مقابل التلألؤ مقابل الوميض المتقطع: تحديد المشكلة
تُسمّى أربعة أعطال مختلفة “وميضًا”، ولكل منها حل مختلف. وتحديد طبيعة المشكلة لديك يوفر عليك أسبوعًا من العمل.
الوميض هو تغيّر مستمر في شدة الضوء بتردد ثابت — عادةً تموّج التيار الكهربائي بتردد 100 أو 120 هرتز، وأحيانًا بتردد أعلى. التلألؤ هو تغيّر طفيف في شدة الضوء تلاحظه عند مستويات التعتيم المنخفضة، عادةً عندما تقل شدة الإضاءة عن 10%، حيث يعمل المشغّل قرب حد استقراره. الوميض المتقطع هو تغيّر عميق ومنخفض التردد في شدة الضوء، وغالبًا ما يكون دون 20 هرتز، فيبدو الضوء نابضًا لا متذبذبًا. التأثير الومّاض ليس وميضًا في الضوء أصلًا: فالضوء ثابت، لكن الجسم المتحرك يبدو وكأنه يقفز، وهذا ما يحدث في ظل مصدر عالي التردد عند استخدام سرعة غالق قصيرة للكاميرا.
وثمة عطلان آخران لا ينطويان على تغيّر في شدة الضوء. « الانطفاء اللحظي » هو إعادة تشغيل المشغّل، فيومض الضوء مرة كل بضع ثوانٍ. أما « الوميض عند التشغيل » فيحدث عندما يشحن تيار الاندفاع مكثف المشغّل عبر المخفّت. ويبدو كلاهما للضيف كأنه وميض، ولا يُحل أي منهما بتغيير إعداد PWM في المشغّل.
ثلاثة أسئلة تستبعد نصف الاحتمالات قبل لمس أي شيء: هل يحدث الوميض عند 100% أم عند خفض الإضاءة فقط؟ وهل يحدث والمفتاح مطفأ؟ وهل يظهر في التصوير فقط؟ يشير الوميض عند 1% من دون كاميرا إلى المشغّل؛ والتوهج والمفتاح مطفأ إلى تسرب التيار؛ والشرائط في الفيديو إلى التردد.
2. السبب الأول: عدم التوافق بين المخفّت والمشغّل
هذا هو السبب الأكثر شيوعًا والأسهل إثباتًا. يقطّع مخفّت التحكم بقطع الطور موجة التيار الكهربائي، ويتعين على المشغّل تفسير الجزء المتبقي منها. وقد صُمم التعتيم بحافة أمامية (TRIAC) للمصابيح ذات الفتيلة المقاومة، إذ يُشغّل في منتصف الدورة عند توصيله بحمل سعوي. يشحن مكثف دخل المشغّل على شكل نبضة قصيرة، فيرصد المخفّت اندفاعًا في التيار، ويبدأ الطرفان بالتذبذب. والنتيجة طنين مسموع ووميض مرئي، يشتدان عند أدنى مستوى للتعتيم.

أما التعتيم بحافة خلفية فيفصل التيار عند عبوره نقطة الصفر، ثم يعيده عند بداية نصف الدورة التالية، وهو أنسب بكثير لمدخل LED السعوي. فهو أهدأ وأكثر استقرارًا، وينبغي استخدامه عند تحديث التجهيزات القائمة. لكن يظل من الضروري أن يكون المشغّل متوافقًا مع التحكم بقطع الطور؛ فالمخفّت ذو الحافة الخلفية لن يخفت الضوء إطلاقًا، أو سيؤدي إلى وميض عند جميع المستويات، إذا لم يكن للمشغّل مدخل متوافق مع قطع الطور.
| الحافة الأمامية (TRIAC) | الحافة الخلفية (MOSFET) | |
|---|---|---|
| نقطة التبديل | في منتصف الدورة، تشغيل | عند عبور الصفر، إيقاف |
| الأحمال المناسبة | مقاومة، حثية | سعوية، مشغلات LED |
| الآثار الشائعة | طنين، طفرة تيار اندفاعي، نطاق ميت | إخفاق في التشغيل عند الحمل المنخفض، حرارة |
| الحد الأدنى للحمل | 10–20% من القدرة الاسمية | 10–20%، وغالبًا ما تكون أعلى مع مصابيح LED |
| مدى التحقق عمليًا | 5–10% | 5–10% |
الاختبار بسيط وقليل التكلفة: وصّل وحدة إنارة واحدة بمُخفّت إضاءة معروف بتوافقه مع الحافة الخلفية، على طاولة اختبار. إذا اختفى الوميض، فالمُخفّت هو سبب المشكلة. وإذا استمر، فانتقل إلى السبب 2.
3. السبب 2: الحد الأدنى للحمل والحمل الوهمي
يحتاج مُخفّت الإضاءة إلى مرور تيار عبره كي يعمل. عندما يقل الحمل عن الحد الأدنى، لا يستطيع تثبيت عنصر التبديل، لذا يفشل في التبديل عند عبور الصفر ويصدر المصباح وميضًا متقطعًا. والقاعدة التقريبية هي 10–20% من الحمل الاسمي للمُخفّت، وتحتاج بعض التصاميم إلى 25%. أربع وحدات بقدرة 9 واط مصابيح سقفية غاطسة قدرتها 36 واط؛ وعلى مُعتِّم بقدرة 400 واط، تمثل 9%، وهي دون الحد الأدنى، لذا ستومض عند التعتيم المنخفض بغض النظر عن العلامة التجارية.
الحمل الوهمي هو الصورة المعاكسة، ويظهر عند إطفاء المفتاح. فمُعتِّم الإضاءة ذو السلكين لا يتصل بالمحايد، لذا يمدّ إلكترونياته بالطاقة عبر تسريب تيار صغير من خلال المصباح — عادةً أقل من 0.5 ملي أمبير. لا يتأثر مصباح واحد بذلك، لكن عشرين مصباحًا موصولة على التوازي تحوّل هذا التسريب إلى توهج مرئي أو وميض بطيء، إذ تشحن مكثفات دخل كل مشغّل حتى يبدأ بالعمل. والشكوى: “تومض الأضواء في منتصف الليل” حقيقية، وليست عطلًا في التوصيلات.
الحلول، مرتبة حسب التكلفة: زيادة الحمل على الدائرة، أو تركيب مُعتِّم موصول بالمحايد، أو اختيار مشغّلات ذات تسريب أقل. كان تركيب مصباح متوهج واحد حيلةً شائعة؛ وما زالت تنجح، لكنها تستهلك 60 واط على هيئة حرارة باستمرار، ولا تتوافق مع نموذج كفاءة الطاقة.
4. السبب الثالث: مشكلات التوصيلات والمحايد المشترك
تؤدي المحايدات المشتركة إلى أغرب الأعراض. فمن الشائع في المباني القديمة توصيل دائرتي إنارة بمحايد واحد، وإذا كانت الدائرتان على طورين مختلفين، حمل المحايد محصلتهما. عندئذ يظهر جهد بين محايدي الدائرتين على دخل المشغّل، فيومض المصباح أو يتعطل عند زيادة الحمل على الدائرة الأخرى.
التوقيت هو المؤشر الفاصل. فإذا بدأ الوميض عند تشغيل المصعد أو دائرة المطبخ، فالمشكلة في مسار التغذية لا في المشغّل. وينطبق الأمر نفسه إذا اختفى الوميض عند استخدام مصدر تغذية مؤقت.
تتسبب التمديدات الطويلة إلى المفاتيح في عطل مرتبط بذلك. فمسار كابل بطول 30 مترًا ومقطع 1.5 مم² يقترن به جهد مستحث كافٍ على السلك المُبدَّل لإبقاء عشرين مشغّلًا عالي الممانعة في حالة تشغيل جزئي، ويتصرف مُعتِّم ذكي غير موصول بالمحايد بالطريقة نفسها. تحقّق من وجود المحايد أثناء المعاينة، لا بعد الانتهاء من أعمال الجبس.
تنبيه سلامة مهم في أعمال الفنادق: يؤدي استعارة المحايد إلى فصل قاطع التيار التفاضلي عند تغذية الدوائر كلٌّ على حدة، كما أنها تشكل خطر حريق، على خلاف المصباح الذي يومض فحسب. إذا اقترن الوميض بفصل قاطع التيار التفاضلي، فتوقف.
5. السبب الرابع: جودة المشغّل والتموج
Every LED driver rectifies mains, and unless the output is well filtered, the LED sees a DC level with 100 Hz (or 120 Hz) ripple on top. Cheap drivers save money on output capacitance, and the ripple depth climbs: a good driver holds percent flicker under 5% and a flicker index below 0.1, a poor one sits at 20–40%. The light looks fine at full output and turns obvious at 10%, where ripple is a larger fraction of a smaller average.
Ripple also shortens life: the die is driven above and below its average current thousands of times a minute, and the thermal cycling accumulates at the wire bonds. That is one reason a cheap retrofit fails at year three while the datasheet suggests ten.
6. Cause 5: PWM frequency and camera capture
If the light is fine to the eye and bands on video, the cause is PWM. A driver that dims by switching the LED on and off at 200 Hz is invisible to most people and unusable on camera, because a shutter at 1/50 s or 1/100 s samples the waveform at a different point in each frame. The result is rolling bands or a strobe effect in the edit.
Photographers and video crews have practical thresholds. Below 1 kHz, banding is likely at normal shutter speeds. Above 3 kHz, most cameras at 1/1000 s and most high-speed rigs are clean. Between the two, results depend on the camera and the shutter, which is why “camera safe” claims need a test rather than a logo.
Two workarounds exist and both cost something: slow the shutter, which the director may refuse, or change the driver for one above 3 kHz or a CCR type with no PWM at all. On a ballroom or press room, put the frequency in the fixture schedule and ask for a test clip at 1/1000 s before the event.
7. Cause 6: supply voltage and dimmer type
Drivers have a minimum operating voltage, and at low dim the margin gets thin. A circuit that sits at 207 V — within the ±10% band around 230 V — may be fine at full output and drop out at 5%, because the driver’s internal rail is already near its limit and the dimming stage pulls it lower. Long runs make it worse: 40 m of 2.5 mm² cable at 10 A loses about 2.5% of the supply, and that is before the joint resistance in a few old back boxes.
The dimmer type matters as much as the voltage. A dimmer rated for MLV (magnetic low voltage) loads has a different output stage from one rated for ELV (electronic) loads, and putting an LED driver on an MLV-rated dimmer is a mismatch even if the wattage adds up. Check the dimmer’s stated load type against the driver’s input type, not the total load alone.
Check the dimmer’s rating table for the word “LED”: a figure stated for incandescent is not a rating for this load. Measure at the fixture under load and again at 10% dim; more than a 5% drop from the board points at the cable.
8. Cause 7: incompatible lamps on one circuit
Mixing brands on one dimmer is the last cause and the one most often created by maintenance. A hotel replaces twelve failed lamps with a different brand because the original is discontinued; the new drivers have different input characteristics, different inrush and a different minimum load. The dimmer now sees a composite load it was never tested against, and the whole circuit flickers even though each lamp is individually fine.
The same happens when a circuit mixes LED with a leftover halogen, or when a phase-cut circuit has a 0–10 V fixture added by mistake: one driver oscillating pulls the supply down enough to make its neighbours oscillate, so the fault looks like it is everywhere. The fix is discipline, not electronics. Keep one driver family per dimmed circuit, record the model in the O&M manual, and replace failures with the specified type.
9. A five-step diagnostic order
Work in this order and you will not replace a driver that was never at fault.

Step 1 — reproduce and time it. Note the dim level, the time of day, and what else switched on. A flicker tied to another appliance is cause 3; a flicker tied to the dim level is cause 1, 2 or 5.
Step 2 — isolate the circuit. Put one fixture on one dimmer, on a bench or a temporary feed. If the fault disappears, the circuit is the problem. If it follows the fixture, the fixture is.
Step 3 — substitute the dimmer. A known-compatible trailing-edge dimmer costs less than a service visit and settles the mismatch question in minutes.
Step 4 — measure. Clamp the load current at 100% and 10%, measure voltage at the fixture, and record percent flicker with a meter sampling above 2 kHz. Numbers end the argument with the supplier.
Step 5 — escalate with evidence. Send the driver and dimmer models, the measured load, the flicker figures and a slow-motion clip. A supplier who sees that data replaces a driver; a supplier who sees “it flickers” asks you to check the wiring.
| Symptom | Most likely cause | First test |
|---|---|---|
| Flicker only below 20% dim | Dimmer-driver mismatch or minimum load | Bench test on a trailing-edge dimmer |
| Glow or blink with switch off | Leakage / phantom load | Measure leakage, count drivers on the circuit |
| Flicker when another circuit runs | Shared or borrowed neutral | Isolate and re-feed the circuit |
| Bands on video, fine to the eye | PWM frequency under 3 kHz | Slow-motion clip, then driver datasheet |
| Flicker at low dim on a long run | Voltage drop at the fixture | True-RMS measurement under load |
| One circuit, several brands | Mixed drivers on one dimmer | Standardise the driver model |
الأسئلة الشائعة
Is LED flicker dangerous?
At the levels that matter, yes for some people. Modulation between 3 and 70 Hz is associated with photosensitive seizures, with 15–20 Hz the worst band. Steady 100 Hz ripple at high depth is linked to headache and eye strain over a working day. Low-depth flicker is a comfort problem, not a hazard, but it is worth fixing.
Why do my LED lights only flicker when dimmed?
Because the fault is in the dimming path, not the lamp. At full output the driver runs in a stable condition; at low output it is near its control limit, where a mismatched dimmer, a minimum-load shortfall or a voltage drop is enough to push it out of regulation. That is why the first test is a bench run at 10% and 1%.
Can a failing driver cause flicker?
Yes. A driver with a dried output capacitor loses filtering, so ripple climbs before it fails completely. The early symptom is a light that flickers at low dim or pulses once a second. If a fixture that used to be stable starts flickering and nothing else changed, suspect the driver before the wiring.
Do all dimmable LED lights flicker?
All of them modulate to some degree, because no driver is perfectly smooth. What differs is depth and frequency. A good driver holds percent flicker under 5% at every level; a poor one sits at 20–40% at 10%. “Flicker free” on a box is a marketing claim until a measurement supports it.
الخطوة التالية
If a circuit is misbehaving, the fastest route is a compatibility check against the drivers you actually have. The driver and controls team will review your dimmer list, load counts and downlight schedule and flag the combinations that will flicker before they are installed. For the guestroom control logic that sits on top of this, the hotel dimming and switching guide covers scenes and key cards.